With enthusiasm, let’s navigate through the intriguing topic related to michaels glass markers. Let’s weave interesting information and offer fresh perspectives to the readers.
Introduction
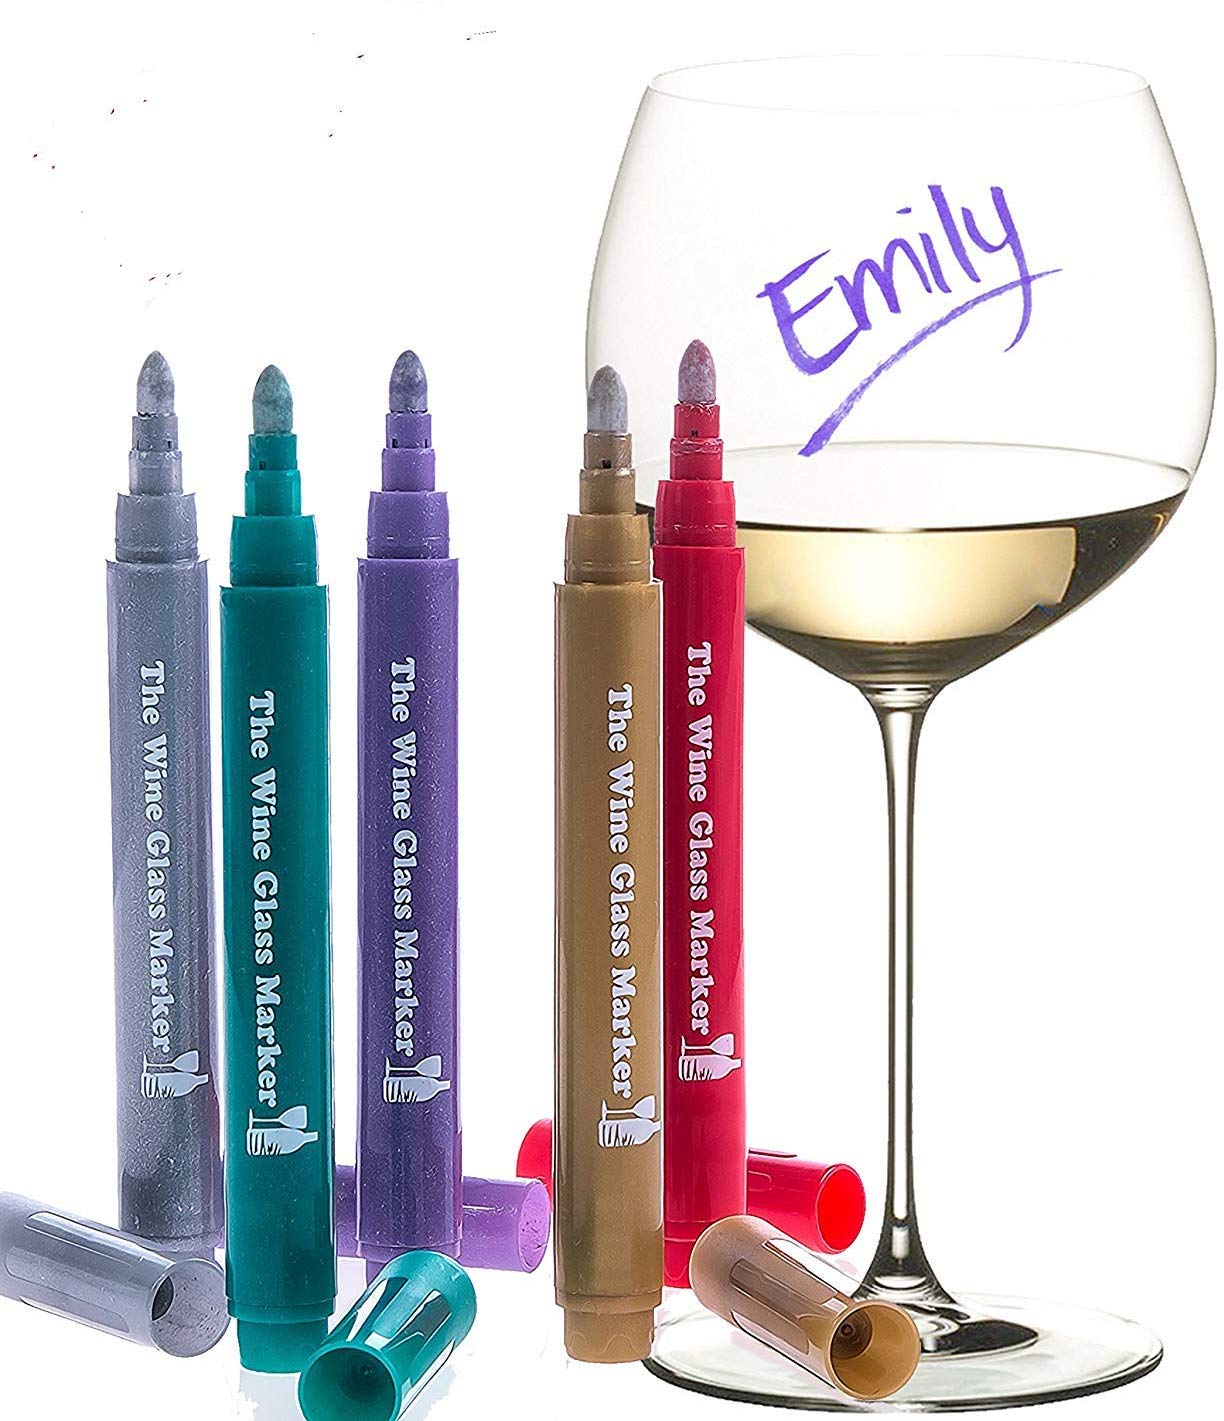
Hey there, future artists! I’m your drawing teacher, and I’m excited to embark on this creative journey with you. Today, we’ll be exploring the wonderful world of drawing with Michaels glass markers. These vibrant markers are perfect for unleashing your imagination on smooth, glassy surfaces.

But first, let’s talk about why drawing is so awesome!
- Drawing is like magic! You can create anything you can imagine, from playful animals to fantastical landscapes, simply by moving a pencil or marker across a page. It’s like having a superpower!
- Drawing helps you think creatively. It allows you to explore ideas, solve problems, and express yourself in a unique way.
- Drawing improves your hand-eye coordination. The act of drawing requires you to control your hand and focus your eyes, which helps develop important motor skills.
- Drawing is a great way to relax. Focusing on the process of creating art can be incredibly calming and help you unwind after a busy day.
- Drawing is fun! It’s a great way to spend time with friends, family, or even just by yourself.

Now, let’s get started with our Michaels glass marker drawing adventure!
1. Getting Started:

- Gather your supplies: You’ll need your Michaels glass markers, a clean glass surface (like a vase, jar, or picture frame), a piece of paper (for practicing), and a damp cloth for cleaning up any mistakes.
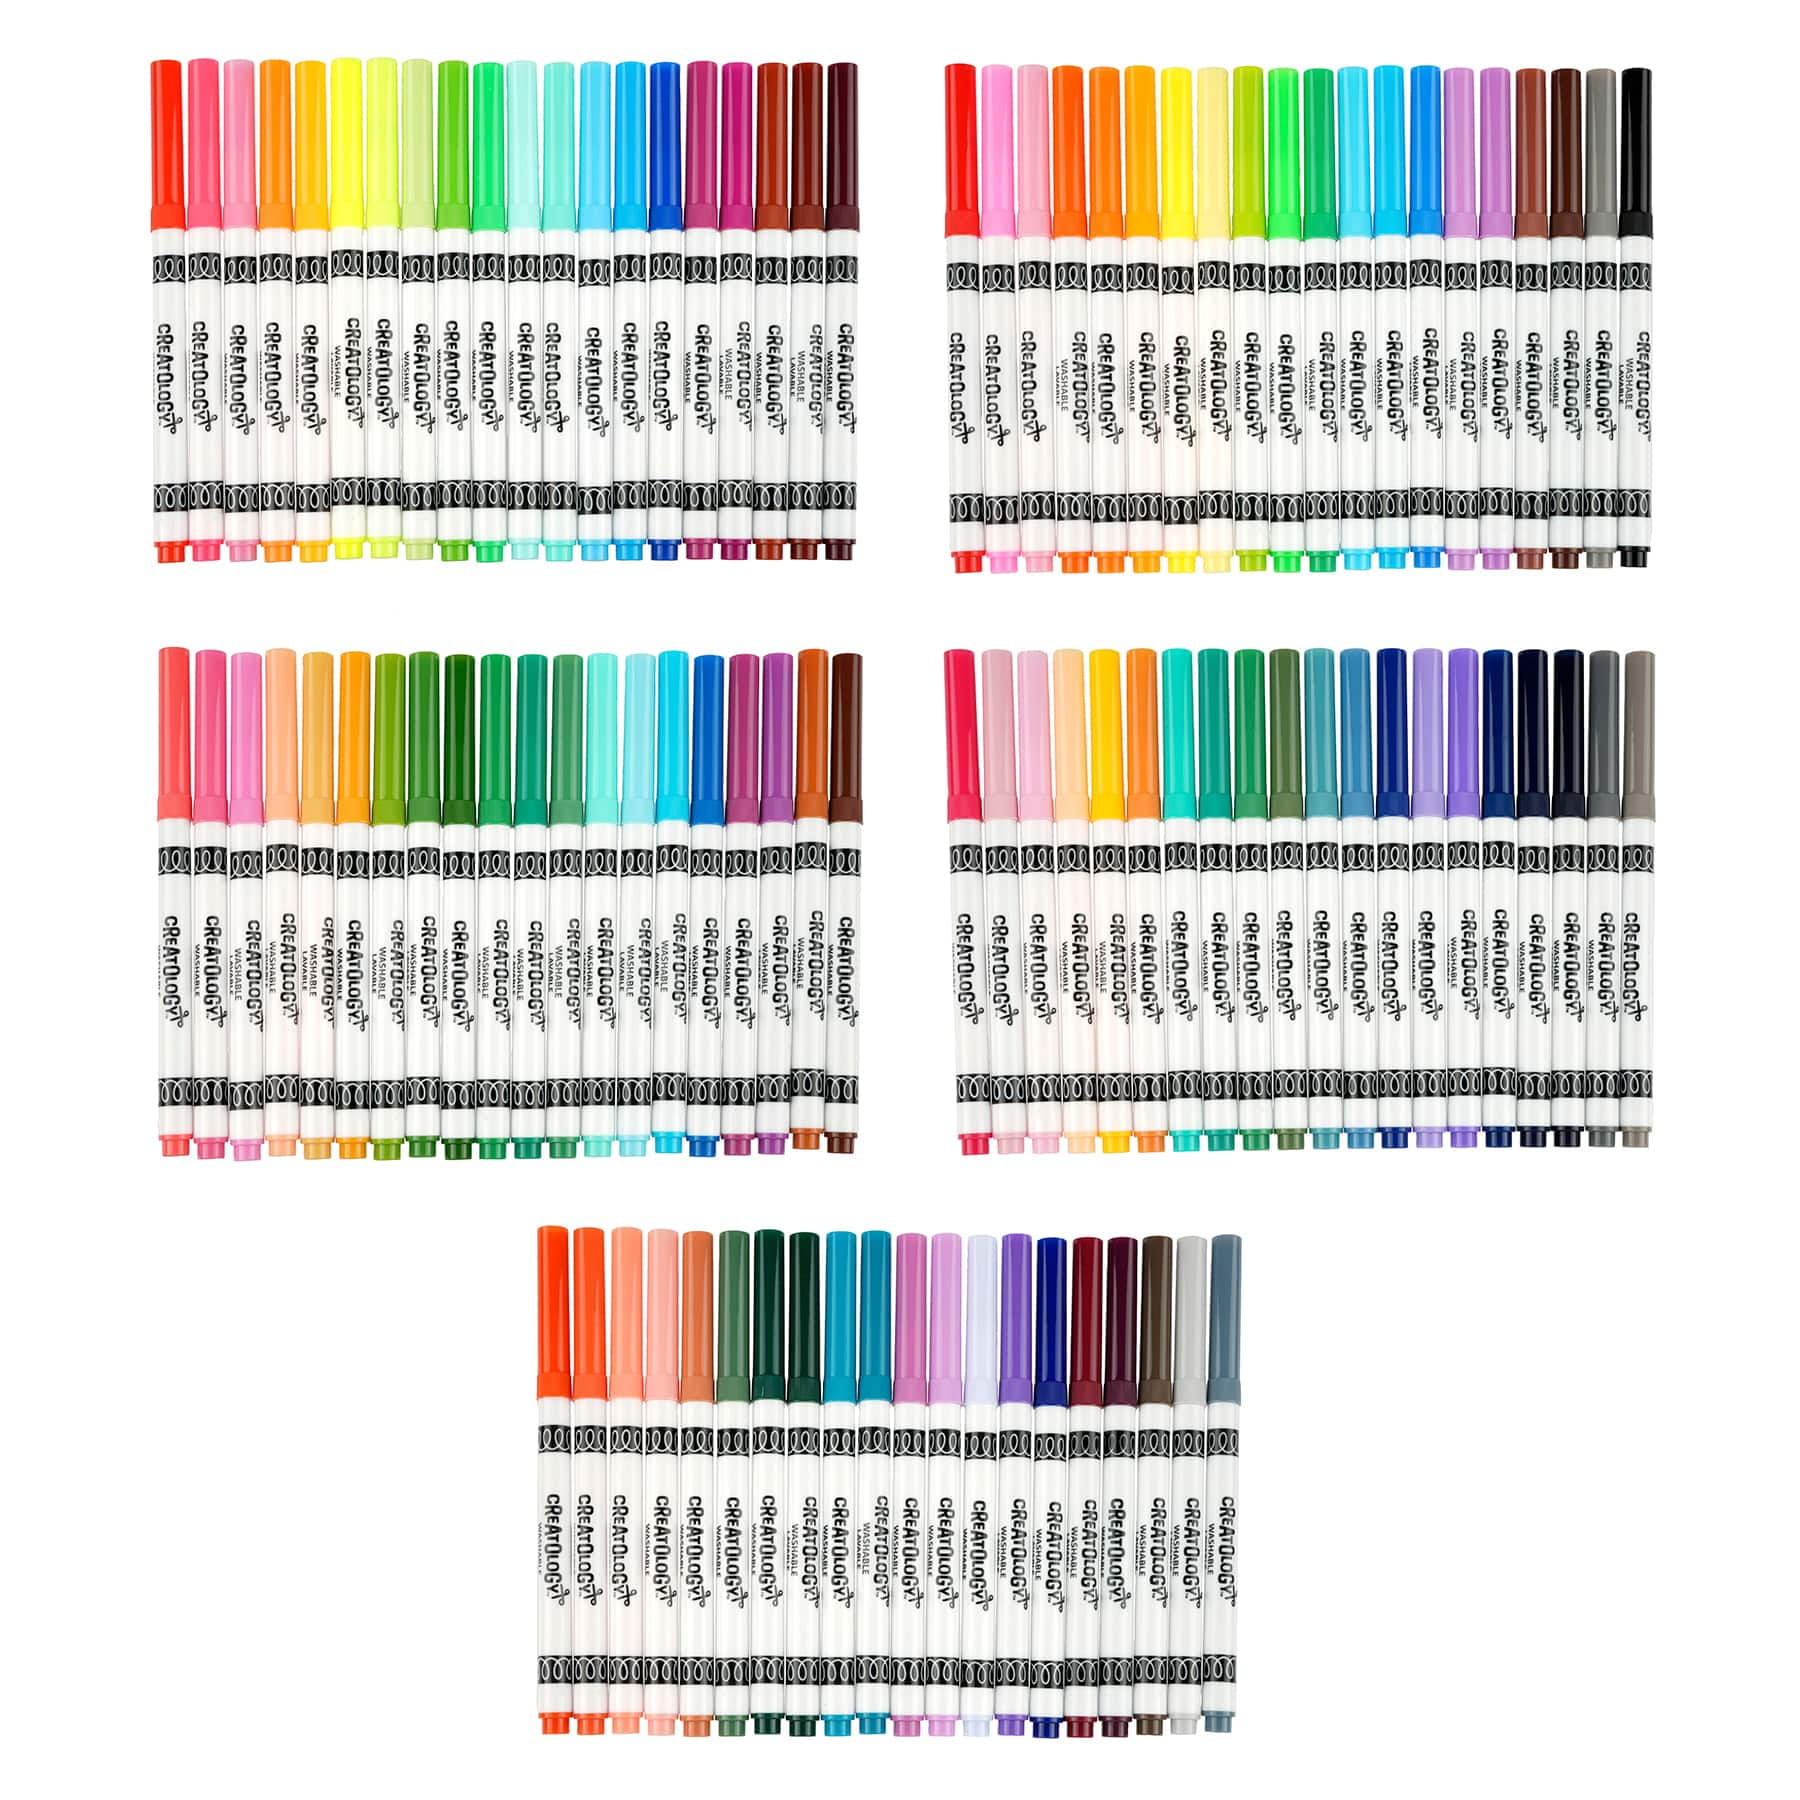
- Choose your colors: Michaels glass markers come in a wide range of colors. What colors are calling to you today? What kind of mood do you want to create?
- Practice your lines: Before you start drawing on your glass, take some time to practice drawing lines on your paper. Experiment with different pressures and speeds to see how the marker reacts.

2. Basic Shapes:
- Circles: Start by practicing drawing circles. Think of a clock face or a pizza. Try to make your circles smooth and even.
- Squares: Next, practice drawing squares. Imagine a window or a box. Try to make your squares as straight and symmetrical as possible.
- Triangles: Finally, practice drawing triangles. Think of a slice of pizza or a mountain. Try to make your triangles sharp and pointy.

3. Putting it all Together:
- Simple designs: Now that you’ve practiced your basic shapes, try combining them to create simple designs. You can make a flower by combining a circle for the center and some triangles for the petals. Or, you can make a house by combining a square for the base and a triangle for the roof.
- Let’s get creative! Don’t be afraid to experiment and try new things. You can add details like dots, lines, and swirls to your designs. You can even try drawing animals, people, or anything else that comes to mind!
4. Tips for Drawing with Michaels Glass Markers:
- Start light and build up your color: It’s easier to add more color than to try to erase it.
- Shake the marker before you use it: This will help ensure that the ink flows evenly.
- Let the ink dry completely before touching it: This will prevent smudging.
- Clean up any mistakes with a damp cloth: The ink is permanent, but it can be wiped off before it dries.
5. Let’s Explore Further:
- What kind of glass surfaces are you interested in drawing on? Would you like to decorate a vase, a picture frame, or something else?
- Do you have any specific designs in mind? Do you want to draw a flower, a pet, or something more abstract?
- What colors are you drawn to? Are you excited to use bright colors or more subtle shades?
By answering these questions, we can tailor this learning journey to your unique interests and goals. Remember, there’s no right or wrong way to draw. The most important thing is to have fun and express yourself!
FAQs:
1. How long does it take for the glass marker ink to dry?
The drying time varies depending on the thickness of the ink and the temperature and humidity. It’s best to wait at least 15 minutes for the ink to dry completely before handling the glass surface.
2. Can I use Michaels glass markers on other surfaces besides glass?
Michaels glass markers are specifically designed for glass, but they can also be used on other smooth, non-porous surfaces like ceramic, metal, and plastic. However, the ink may not be as permanent on these surfaces.
3. How do I clean the markers?
To clean the markers, simply wipe the tip with a damp cloth. You can also use a marker cleaner if necessary.
4. What are some other fun things I can do with Michaels glass markers?
Besides drawing on glass surfaces, you can also use Michaels glass markers to create unique and personalized gifts, decorate your home, or even add a touch of creativity to your everyday objects.
5. Where can I find more inspiration for drawing with Michaels glass markers?
There are many online resources and tutorials available that can provide you with inspiration and ideas for drawing with Michaels glass markers. You can also check out books and magazines on glass art and craft projects.
I’m excited to see what you create! Remember, drawing is a journey, not a destination. Enjoy the process and don’t be afraid to experiment!
Thus, we hope this article has provided valuable insights into Downloads michaels glass markers. We appreciate your attention to our article. See you in our next article!