With enthusiasm, let’s navigate through the intriguing topic related to Alright, young artist! Let’s dive into the exciting world of drawing and explore the magic of creating a magnifier with light! . Let’s weave interesting information and offer fresh perspectives to the readers.
Introduction
Alright, young artist! Let’s dive into the exciting world of drawing and explore the magic of creating a magnifier with light!
Before we get started, tell me, what kind of magnifier are you imagining? Is it a simple hand-held magnifying glass, a futuristic one with glowing edges, or something else entirely?
Understanding the Basics: The Building Blocks of Drawing
Drawing is like building a house. We need a strong foundation of basic skills to create beautiful and interesting pictures. Let’s start with the essential tools:
- Pencil: Our trusty friend, the pencil, comes in various grades (from soft to hard). A softer pencil (like a 2B or 4B) will create darker lines, while a harder pencil (like an H or 2H) will create lighter lines. Experiment with different pencils to find your favorites!
- Paper: You can use any kind of paper, but smoother paper is generally easier to draw on. Drawing paper is a good choice, but even regular printer paper will do.
- Eraser: Mistakes are part of the learning process! A good eraser will help you fix any errors you make.

Drawing the Magnifier: A Step-by-Step Guide
Now, let’s break down the steps to drawing our magnifier with light:
:max_bytes(150000):strip_icc()/GettyImages-667156305-59befb3daf5d3a00102437f8.jpg)
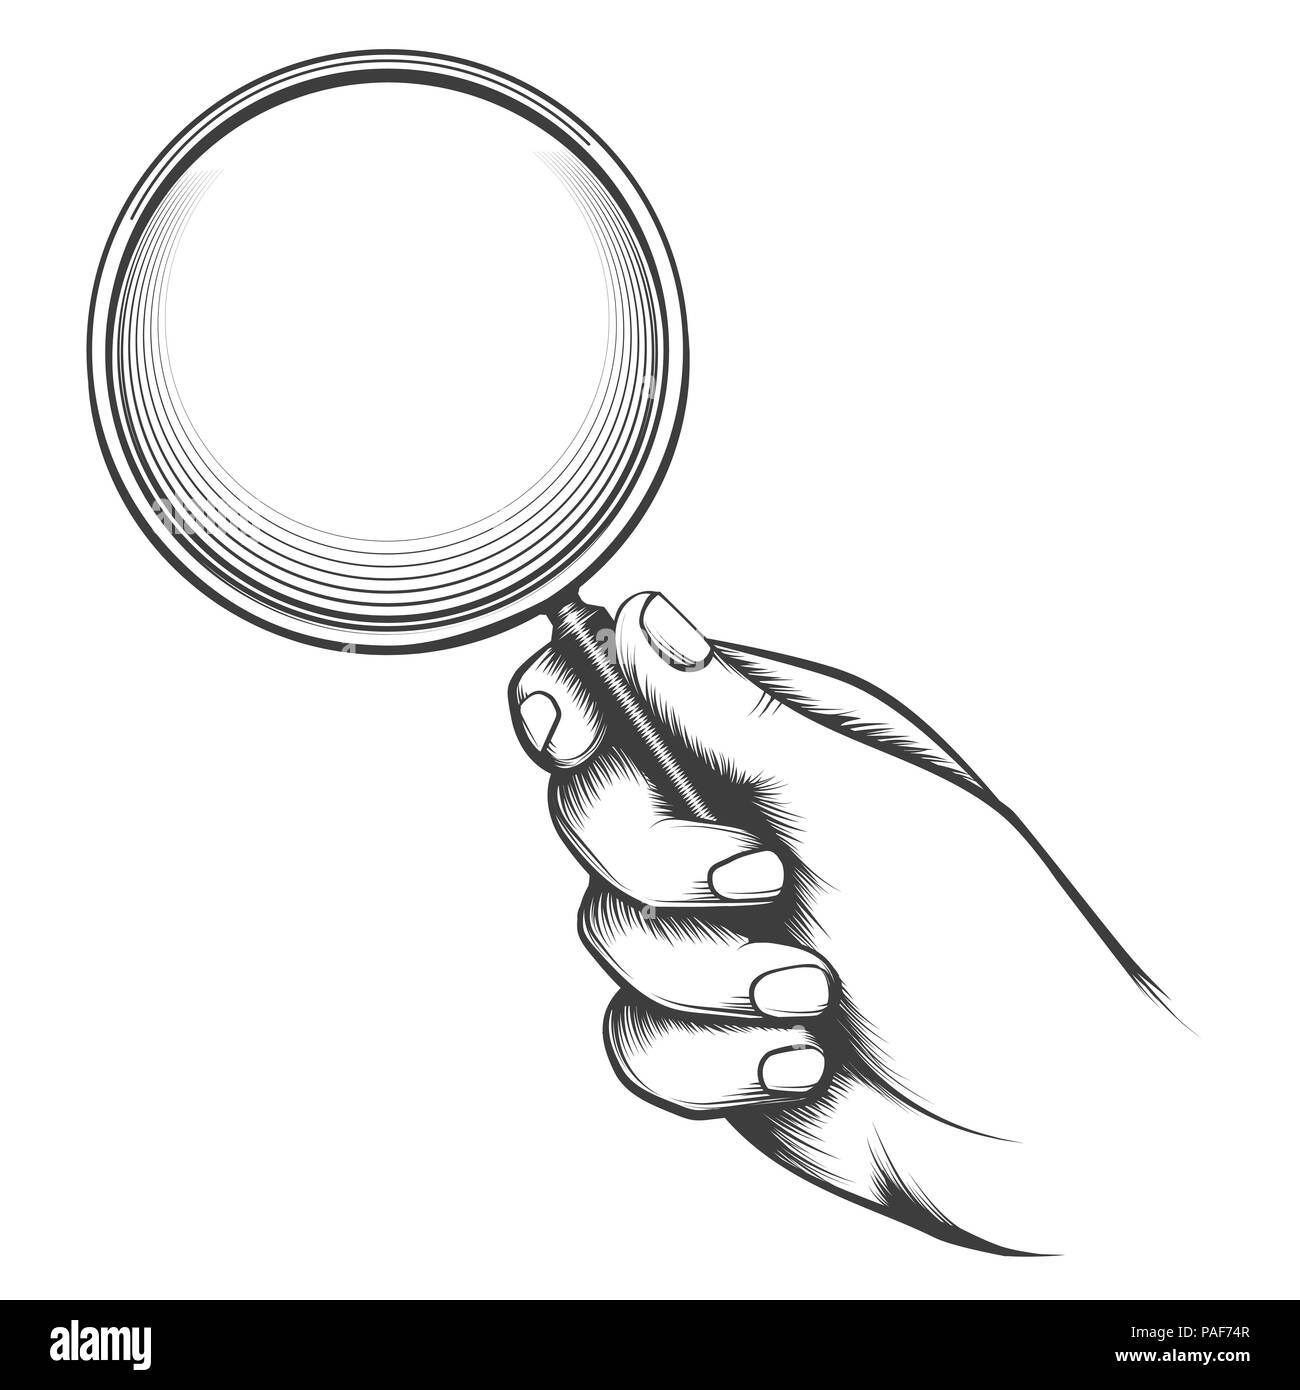
- Sketching the Shape: Start by lightly sketching the basic shape of the magnifier. Think of it as a circle with a handle. Don’t worry about making it perfect at this stage!
- Adding Details: Now, add the details. Draw the lens of the magnifier, making it a bit thicker than the frame. Add a handle, either a simple loop or a more elaborate design.
- The Light Effect: This is where the fun begins! Imagine the light shining through the lens. Draw a few curved lines emanating from the lens, representing the light rays.
- Shading and Texture: To make the magnifier look realistic, use your pencil to add shading. Think about where the light would hit the magnifier and where shadows would fall. You can also add texture to the handle and lens, making it look smooth or rough.
- Final Touches: Add any final details you want, like a decorative pattern on the handle or a background to give the magnifier context.

The Benefits of Drawing
Drawing is more than just a fun hobby. It has many amazing benefits for your mind and body:
- Creativity Booster: Drawing allows you to express your imagination and create your own unique worlds.
- Problem-Solving Skills: When you draw, you’re constantly making decisions about shapes, lines, and colors. This helps you develop critical thinking and problem-solving skills.
- Concentration and Focus: Drawing requires you to be present and focused, which can help you improve your concentration skills.
- Hand-Eye Coordination: Drawing involves coordinating your hand movements with what you see, which helps improve your hand-eye coordination.
- Stress Relief: Drawing can be a relaxing and therapeutic activity, helping you relieve stress and anxiety.

FAQs about Drawing a Magnifier with Light
- What if I’m not good at drawing? Don’t worry! Everyone starts somewhere. The key is to practice and have fun. Remember, there are no mistakes in art, only opportunities to learn and grow.
- What kind of light should I draw? You can draw any kind of light you want! It could be a bright, focused beam, a soft glow, or even a shimmering light effect. Experiment and see what you like best.
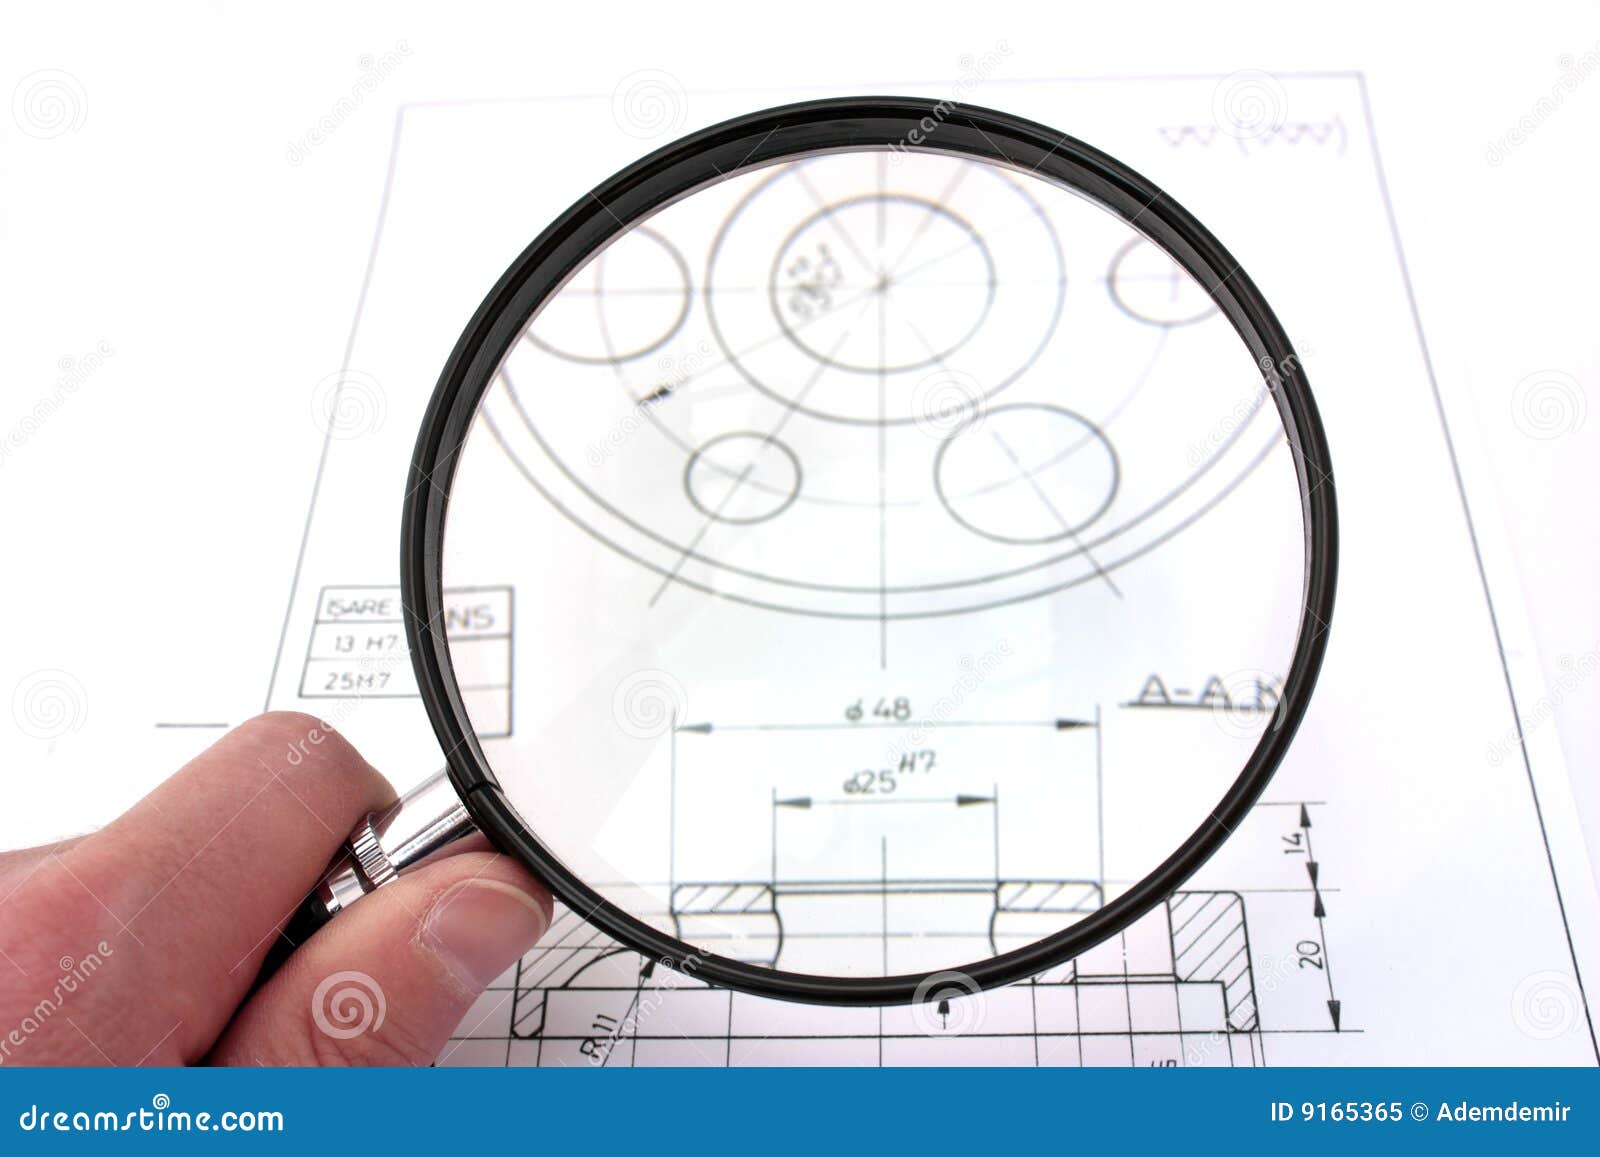
- How can I make my drawing more interesting? You can add details to your drawing, like a small insect being magnified by the lens, or a person using the magnifier to examine something. You can also create a background that complements the magnifier.
- What if I want to draw a different object? That’s great! Drawing is all about exploring and experimenting. You can draw anything you want! Just follow the same basic steps we discussed earlier.
- Where can I learn more about drawing? There are many great resources available online and in libraries. You can find drawing tutorials, books, and even online courses.
Remember, practice makes perfect! Keep drawing, keep experimenting, and most importantly, have fun!
Now, tell me, what are you most excited to draw about your magnifier? Is it the light effect, the handle design, or something else?
![]()
Thus, we hope this article has provided valuable insights into Downloads Alright, young artist! Let’s dive into the exciting world of drawing and explore the magic of creating a magnifier with light! . We appreciate your attention to our article. See you in our next article!