With enthusiasm, let’s navigate through the intriguing topic related to Let’s Dive into the Colorful World of Stained Glass Drawing!. Let’s weave interesting information and offer fresh perspectives to the readers.
Introduction
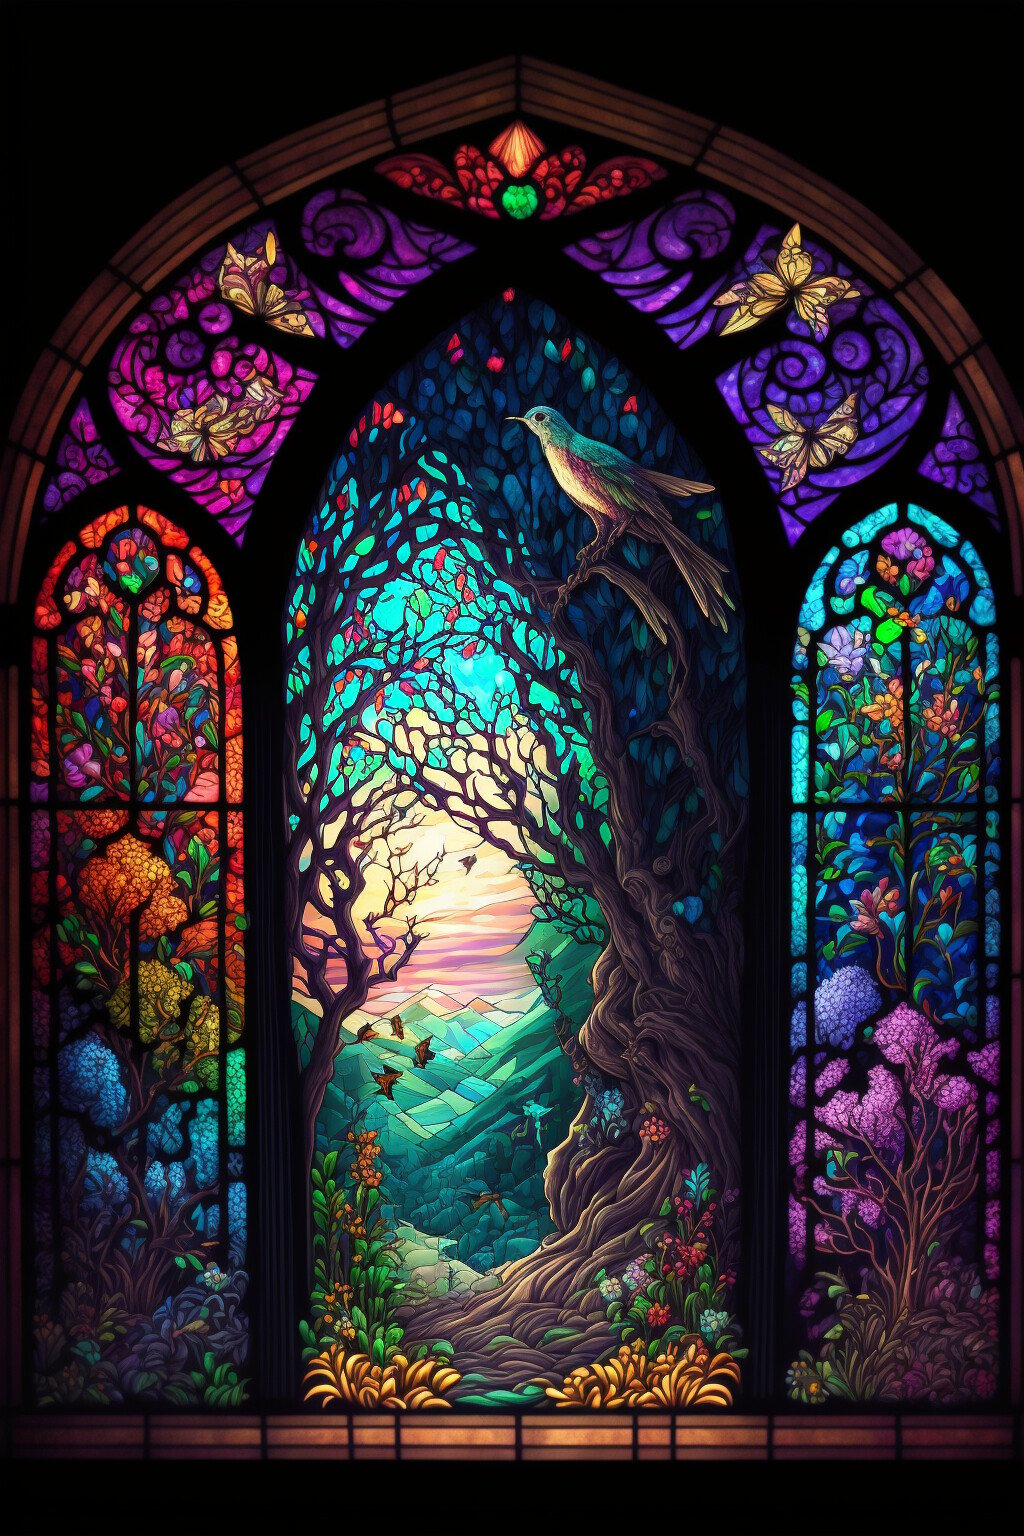
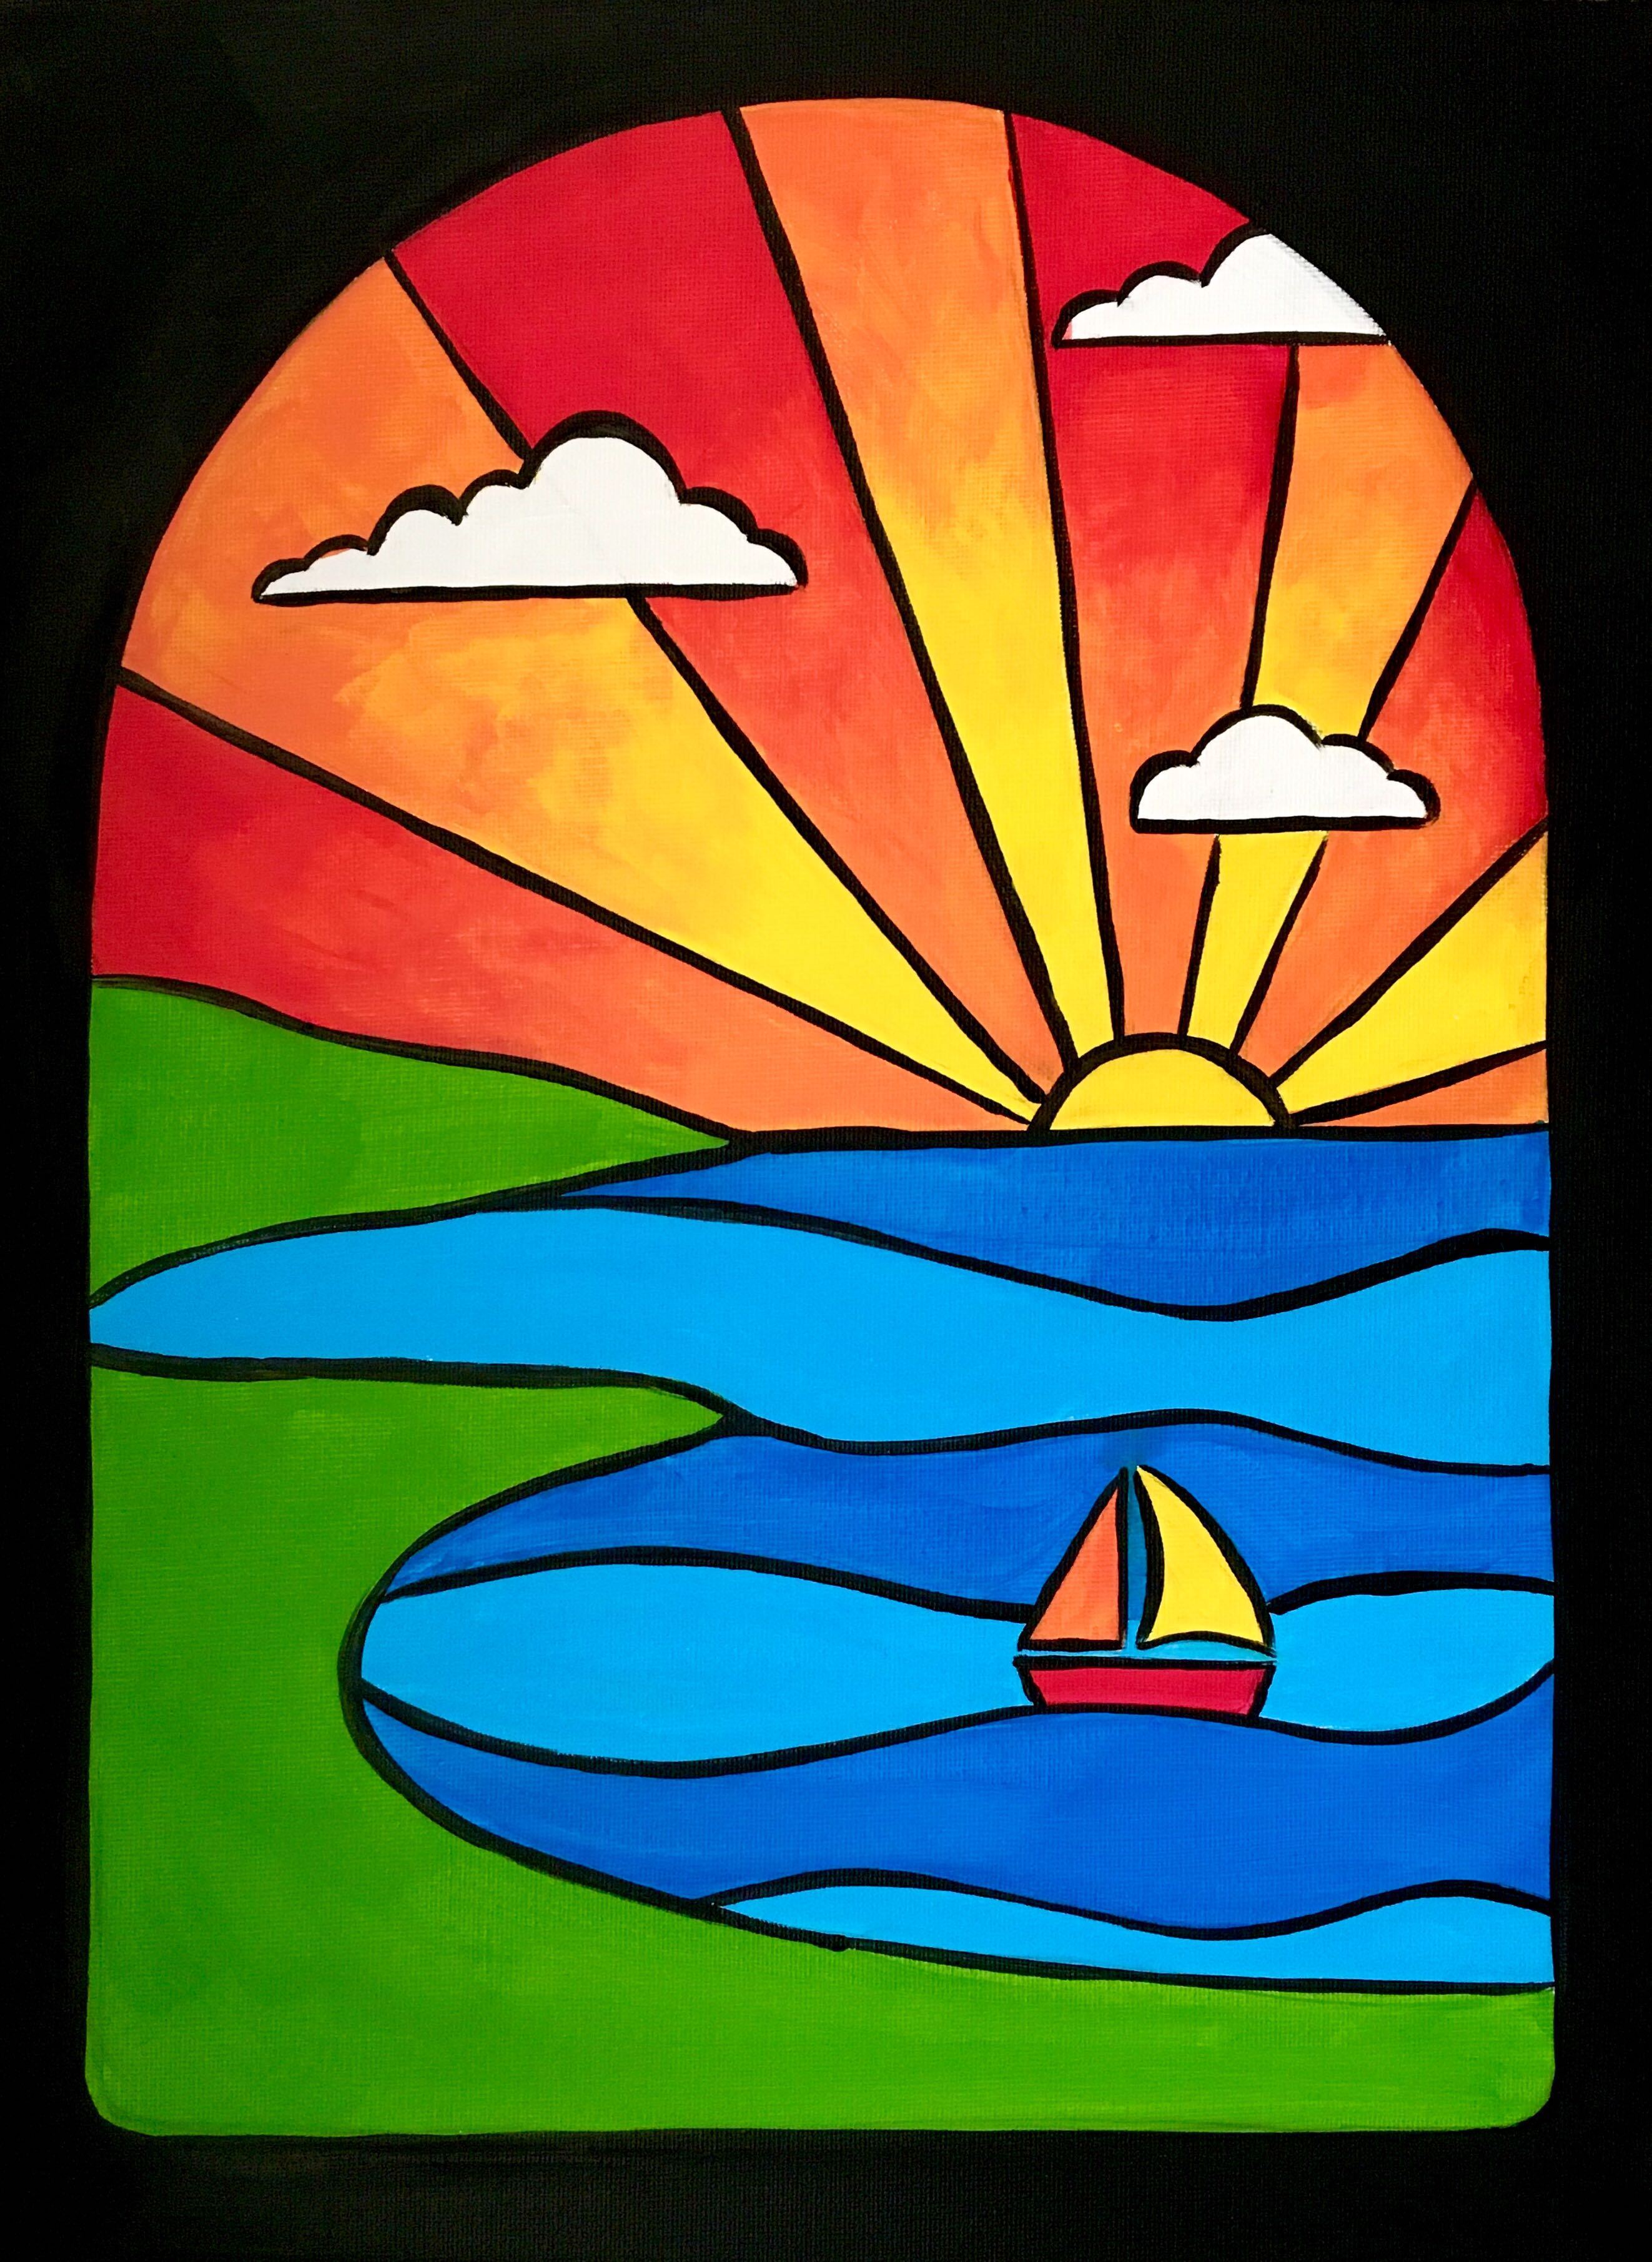
Let’s Dive into the Colorful World of Stained Glass Drawing!

Hi there! I’m so excited to embark on this artistic journey with you. Drawing stained glass plans can be a truly captivating experience, and I’m here to guide you every step of the way. But before we get started, tell me, are you designing these stained glass plans for a personal project, or perhaps for a school assignment? Knowing your purpose will help me tailor the instructions to your specific needs.
Why Draw Stained Glass?
Drawing stained glass plans is more than just sketching pretty pictures. It’s a creative process that helps you explore color, shape, and light in a unique way. Here are some of the fantastic benefits:
- Boosting Creativity: Drawing stained glass plans allows you to unleash your imagination and bring your artistic vision to life. You can experiment with different shapes, colors, and patterns, creating intricate designs that are truly your own.
- Developing Spatial Awareness: Planning stained glass involves thinking about how different pieces fit together and how light will interact with them. This process sharpens your spatial reasoning skills.
- Building Fine Motor Skills: The detailed nature of stained glass drawing requires precise hand movements, improving your dexterity and hand-eye coordination.
- Enhancing Problem-Solving Skills: When you encounter challenges in designing your stained glass, you’ll learn to think critically and creatively to find solutions.
- A Sense of Accomplishment: Seeing your stained glass plans come to life, whether on paper or in the actual creation, brings a sense of pride and accomplishment.


Let’s Get Started!
1. Gathering Your Materials:
- Paper: Choose a sturdy paper that can handle the pressure of your pencil and eraser. For more vibrant colors, try using watercolor paper.
- Pencils: A set of pencils with varying grades is ideal. A softer pencil (like a 2B or 4B) is great for shading, while a harder pencil (like an HB or 2H) is better for outlining.
- Eraser: A good eraser is essential for making mistakes disappear!
- Ruler: A ruler will help you create straight lines and measure accurately.
- Compass: A compass is useful for drawing circles and other curved shapes.
- Coloring tools: You can use colored pencils, markers, or crayons to bring your stained glass plan to life.
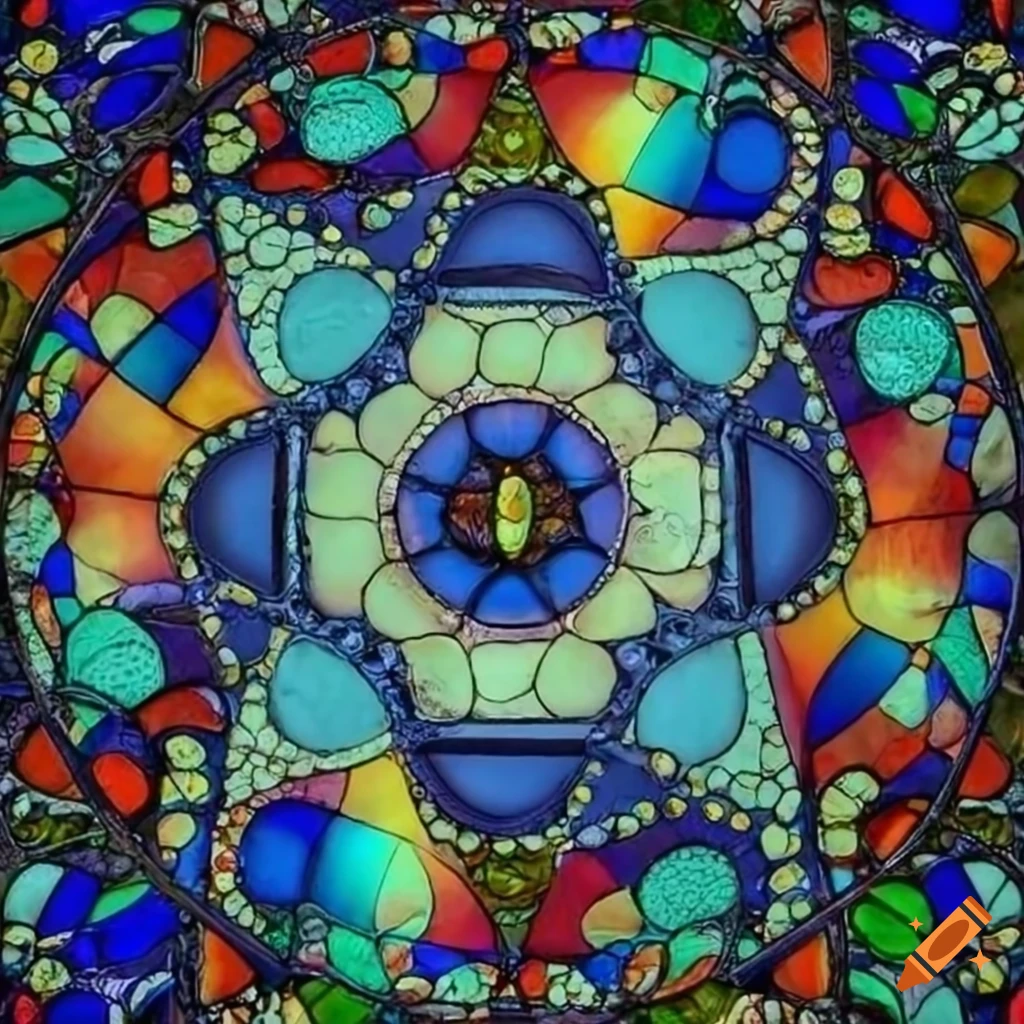
2. The Basic Shapes of Stained Glass:
Stained glass designs often feature geometric shapes like:
- Triangles: They add a sense of dynamism and can be combined to create complex patterns.
- Squares and Rectangles: These shapes provide a sense of stability and order.
- Circles: Circles add a touch of elegance and flow to a design.
- Diamonds: Diamonds create a sense of movement and can be used to create interesting patterns.

3. Creating Your First Stained Glass Plan:
- Sketching: Begin with a light pencil sketch to outline the basic shapes of your design. Don’t worry about making it perfect at this stage, just focus on getting the general layout down.
- Adding Details: Once you’re happy with the basic shapes, start adding details like lines, curves, and patterns. Use your ruler and compass to create precise shapes.
- Coloring: Now it’s time to bring your design to life with color! Choose a color palette that complements your design and use your coloring tools to fill in the shapes.
4. Important Tips:
- Light and Shadow: Think about how light will interact with your stained glass. Use shading to create depth and dimension.
- Experimentation: Don’t be afraid to experiment with different shapes, colors, and patterns!
- Practice makes Perfect: The more you draw, the better you’ll become at creating beautiful stained glass plans.
5. FAQs:
Q: What are some common themes for stained glass designs?
A: Stained glass designs are often inspired by nature, religious themes, or historical architecture. Do you have a particular theme in mind for your designs?
Q: How can I add texture to my stained glass drawings?
A: You can create texture by using different shading techniques, hatching, cross-hatching, or even adding small dots or lines to mimic the look of glass.
Q: How can I make my stained glass drawings more realistic?
A: Pay attention to the way light interacts with glass, using highlights and shadows to create a sense of depth. You can also experiment with different color combinations to create a more realistic look.
Q: How can I create my own unique stained glass designs?
A: The key is to explore different shapes, patterns, and color combinations. Look for inspiration in nature, architecture, or even your own imagination.
Q: What are some resources for learning more about stained glass drawing?
A: There are many online tutorials and books available that can teach you more about stained glass drawing. You can also find inspiration by looking at images of real stained glass windows.
Let’s Start Creating!
Now that you have a basic understanding of stained glass drawing, it’s time to put your skills into practice. What kind of stained glass design are you most excited to create? Tell me about your ideas, and we can explore them together!
Thus, we hope this article has provided valuable insights into Downloads Let’s Dive into the Colorful World of Stained Glass Drawing!. We thank you for taking the time to read this article. See you in our next article!