In this auspicious occasion, we are delighted to delve into the intriguing topic related to no bake clay. Let’s weave interesting information and offer fresh perspectives to the readers.
Introduction
Hey there, aspiring artists! I’m your friendly neighborhood drawing teacher, here to help you unlock the magic of drawing. Today, we’re going to explore the wonderful world of "no-bake clay" and how to draw it realistically.
Before we dive in, let me ask you a question: What kind of no-bake clay are you interested in drawing? Is it a specific brand or type? Knowing this will help me tailor the lesson to your needs.
Now, let’s talk about the benefits of drawing no-bake clay. It’s more than just capturing the shape of the clay; it’s about understanding its unique qualities:
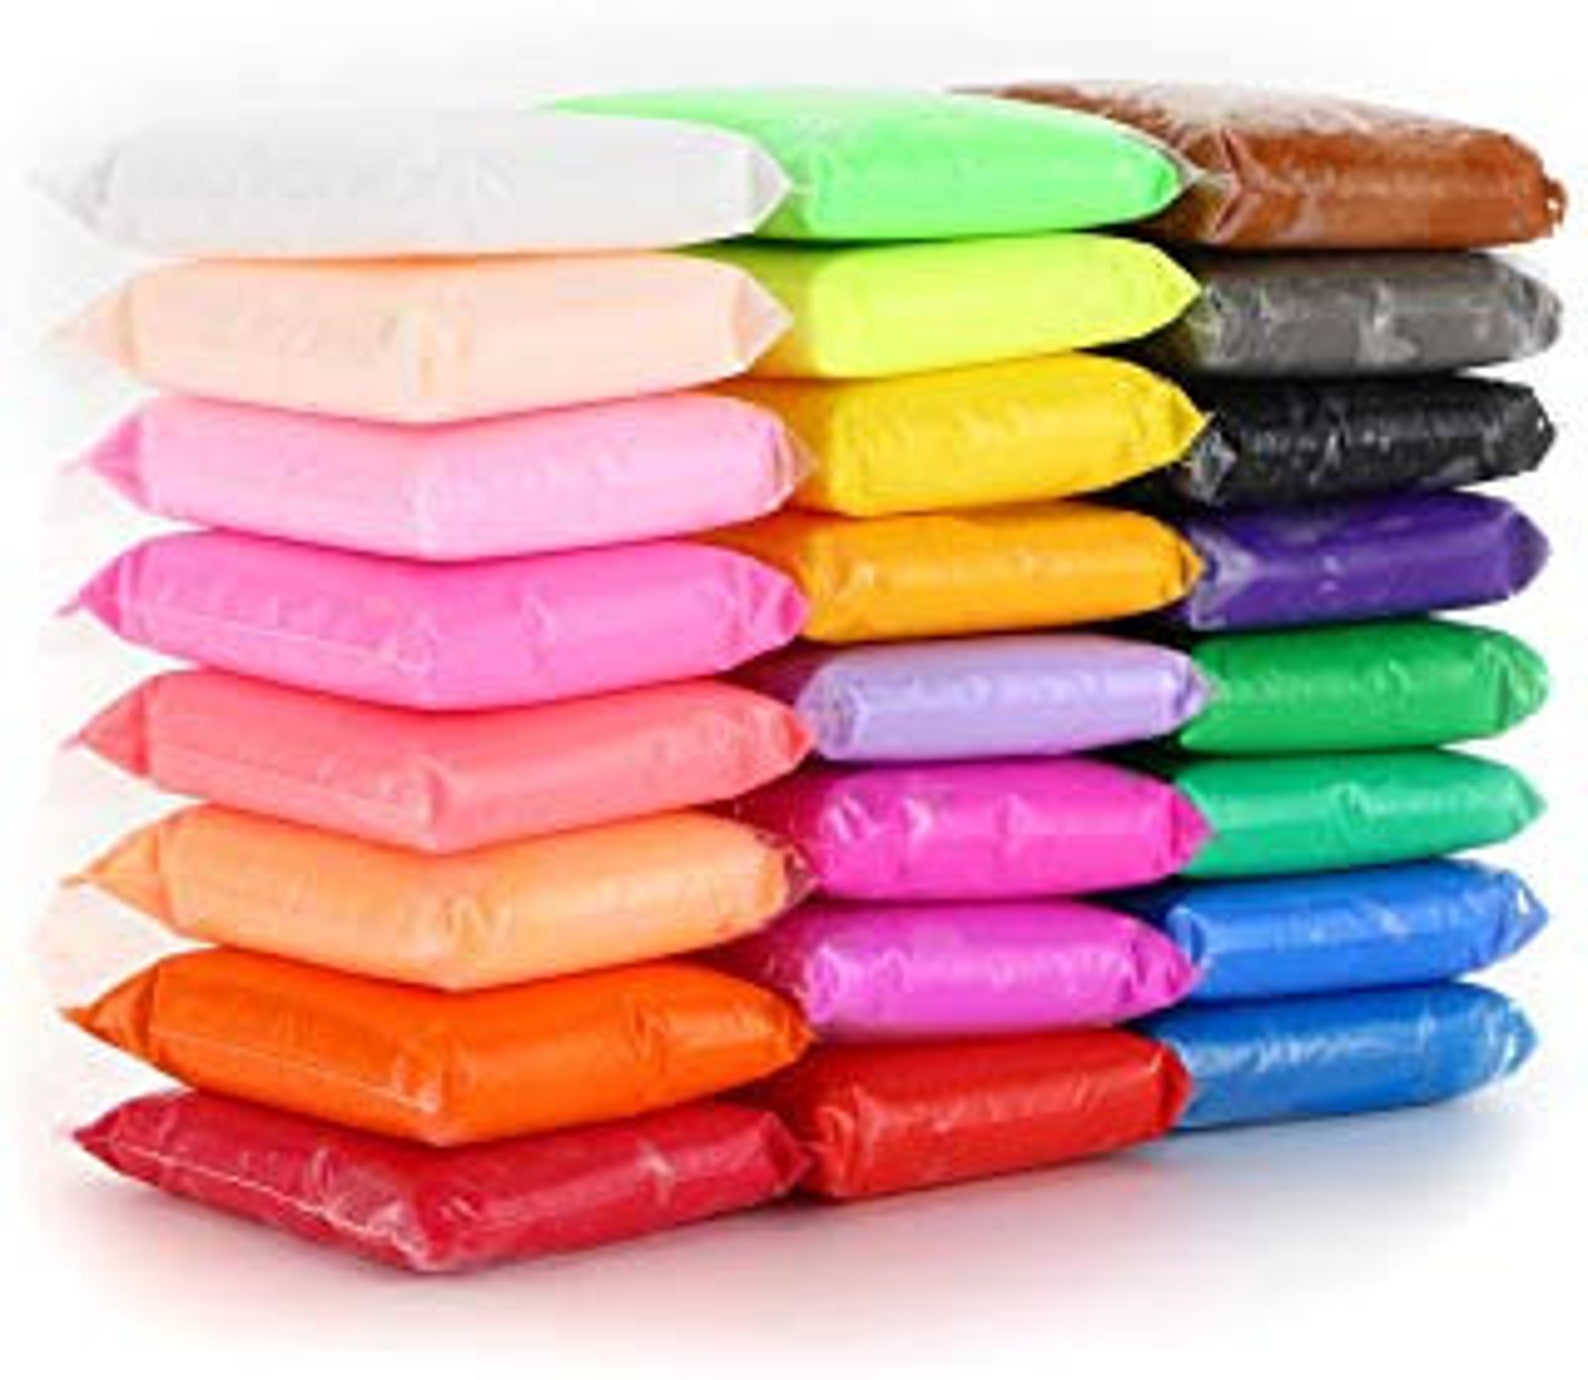
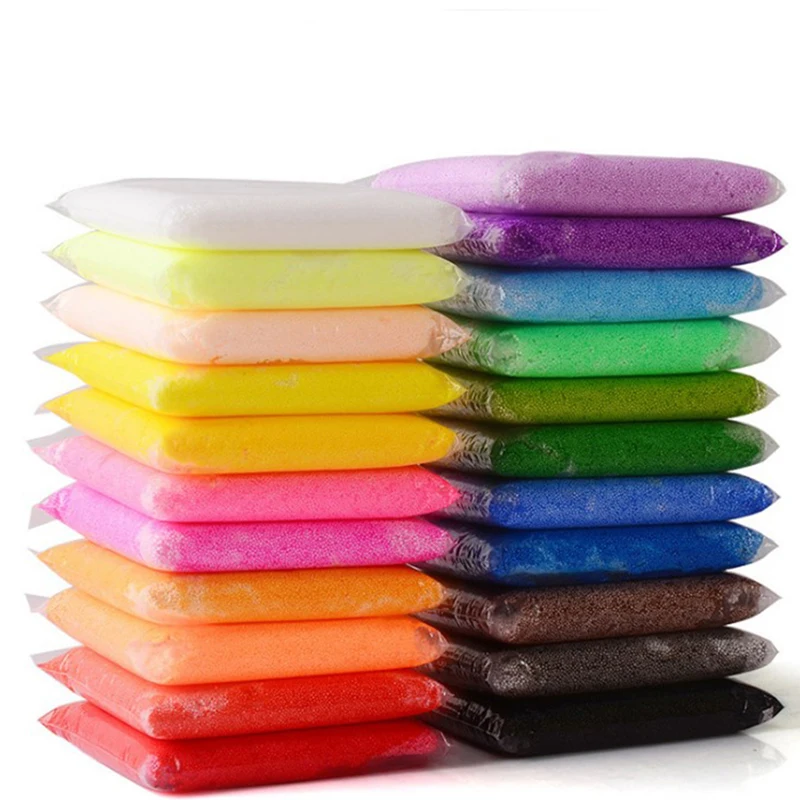
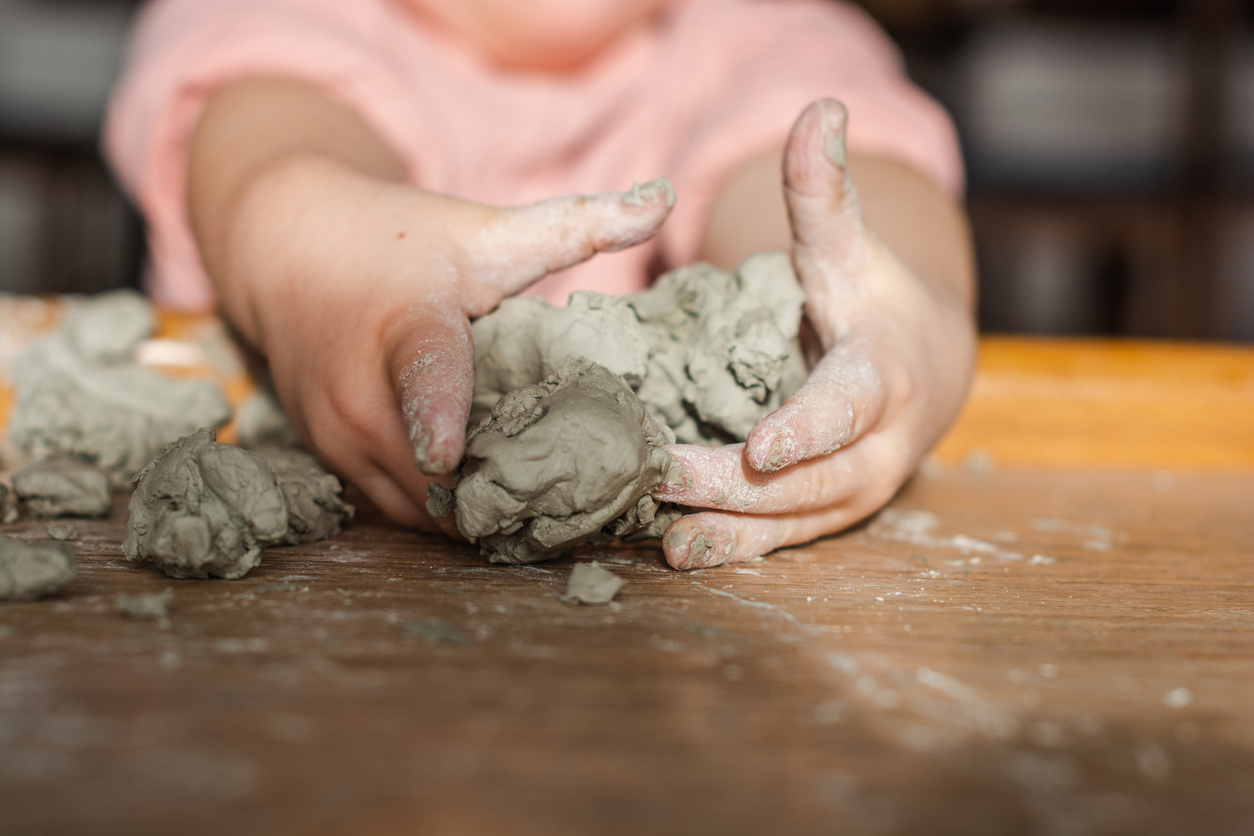
- Texture: No-bake clay comes in various textures, from smooth and silky to rough and bumpy. Drawing these textures helps you develop your observation skills and learn to translate them onto paper.
- Color: No-bake clay can be vibrant and colorful, offering a fantastic opportunity to practice mixing and blending colors.
- Light and Shadow: The way light interacts with the clay’s surface creates fascinating shadows and highlights. Learning to capture these details adds depth and realism to your drawing.
- Form: No-bake clay often comes in interesting shapes, whether it’s a simple ball or a more intricate sculpture. Drawing these forms helps you develop your understanding of perspective and three-dimensional space.
Now, let’s get started with the drawing process:
1. Observation:

- Look closely: Before you start drawing, take your time to observe the no-bake clay. Notice the subtle variations in its texture, color, and form.
- Light and Shadow: Pay attention to how light falls on the clay, creating highlights and shadows.
- Reference Images: If you’re struggling to see the details, you can use reference images of no-bake clay.

2. Basic Shapes:
- Simplify: Think of the clay as a collection of basic shapes like spheres, cylinders, and cubes. Start by drawing these simple shapes to capture the overall form.
- Outline: Use light, thin lines to outline the basic shapes. Don’t worry about getting it perfect at this stage.
- Adjust: As you observe the clay, adjust the shapes and lines to make them more accurate.

3. Details and Texture:
- Hatching: To create texture, use short, parallel lines called hatching. Vary the direction and density of hatching to create different textures.
- Cross-Hatching: For even more detail, use cross-hatching, which involves layering hatching lines in different directions.
- Blending: Use a blending tool or your finger to soften the lines and create smooth transitions between light and shadow.

4. Color:
- Color Palette: Choose colors that match the no-bake clay. You can use colored pencils, crayons, or markers.
- Layering: Build up the color gradually by layering light to dark shades.
- Blending: Blend the colors to create smooth transitions and add depth to your drawing.
5. Finishing Touches:
- Highlights: Add white highlights to areas where the light hits the clay most directly.
- Shadows: Deepen the shadows to create contrast and add dimension.
- Background: Consider adding a background to your drawing to create context and enhance the overall composition.
FAQs:
1. What if I can’t draw realistic textures?
Don’t worry! It takes practice to develop your drawing skills. Start with simple textures and gradually work your way up to more complex ones. You can also use reference images to help you understand the details.
2. How can I make my drawing more interesting?
Try adding a background, incorporating different lighting conditions, or even drawing the clay in a scene. You can also experiment with different drawing techniques like stippling or pointillism.
3. What are some good drawing materials for no-bake clay?
For beginners, I recommend using pencils, colored pencils, or crayons. You can also try using charcoal or pastels for a more dramatic effect.
4. How long should I practice each day?
Even a little bit of practice each day can make a big difference. Aim for 15-30 minutes of drawing time, and you’ll see your skills improve over time.
5. Where can I find more inspiration?
Look for reference images online or in books. You can also visit museums or art galleries to see how other artists have drawn clay.
Remember, drawing is a journey, not a race. Be patient with yourself, have fun, and don’t be afraid to experiment!
Thus, we hope this article has provided valuable insights into Downloads no bake clay. We appreciate your attention to our article. See you in our next article!