In this auspicious occasion, we are delighted to delve into the intriguing topic related to dry erase markers small. Let’s weave interesting information and offer fresh perspectives to the readers.
Introduction
Alright, young artist! Let’s dive into the world of drawing with dry erase markers. I’m excited to guide you on this creative journey.
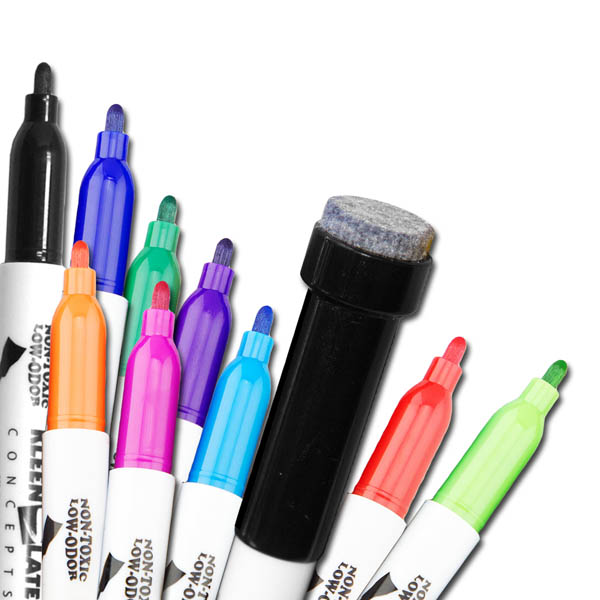
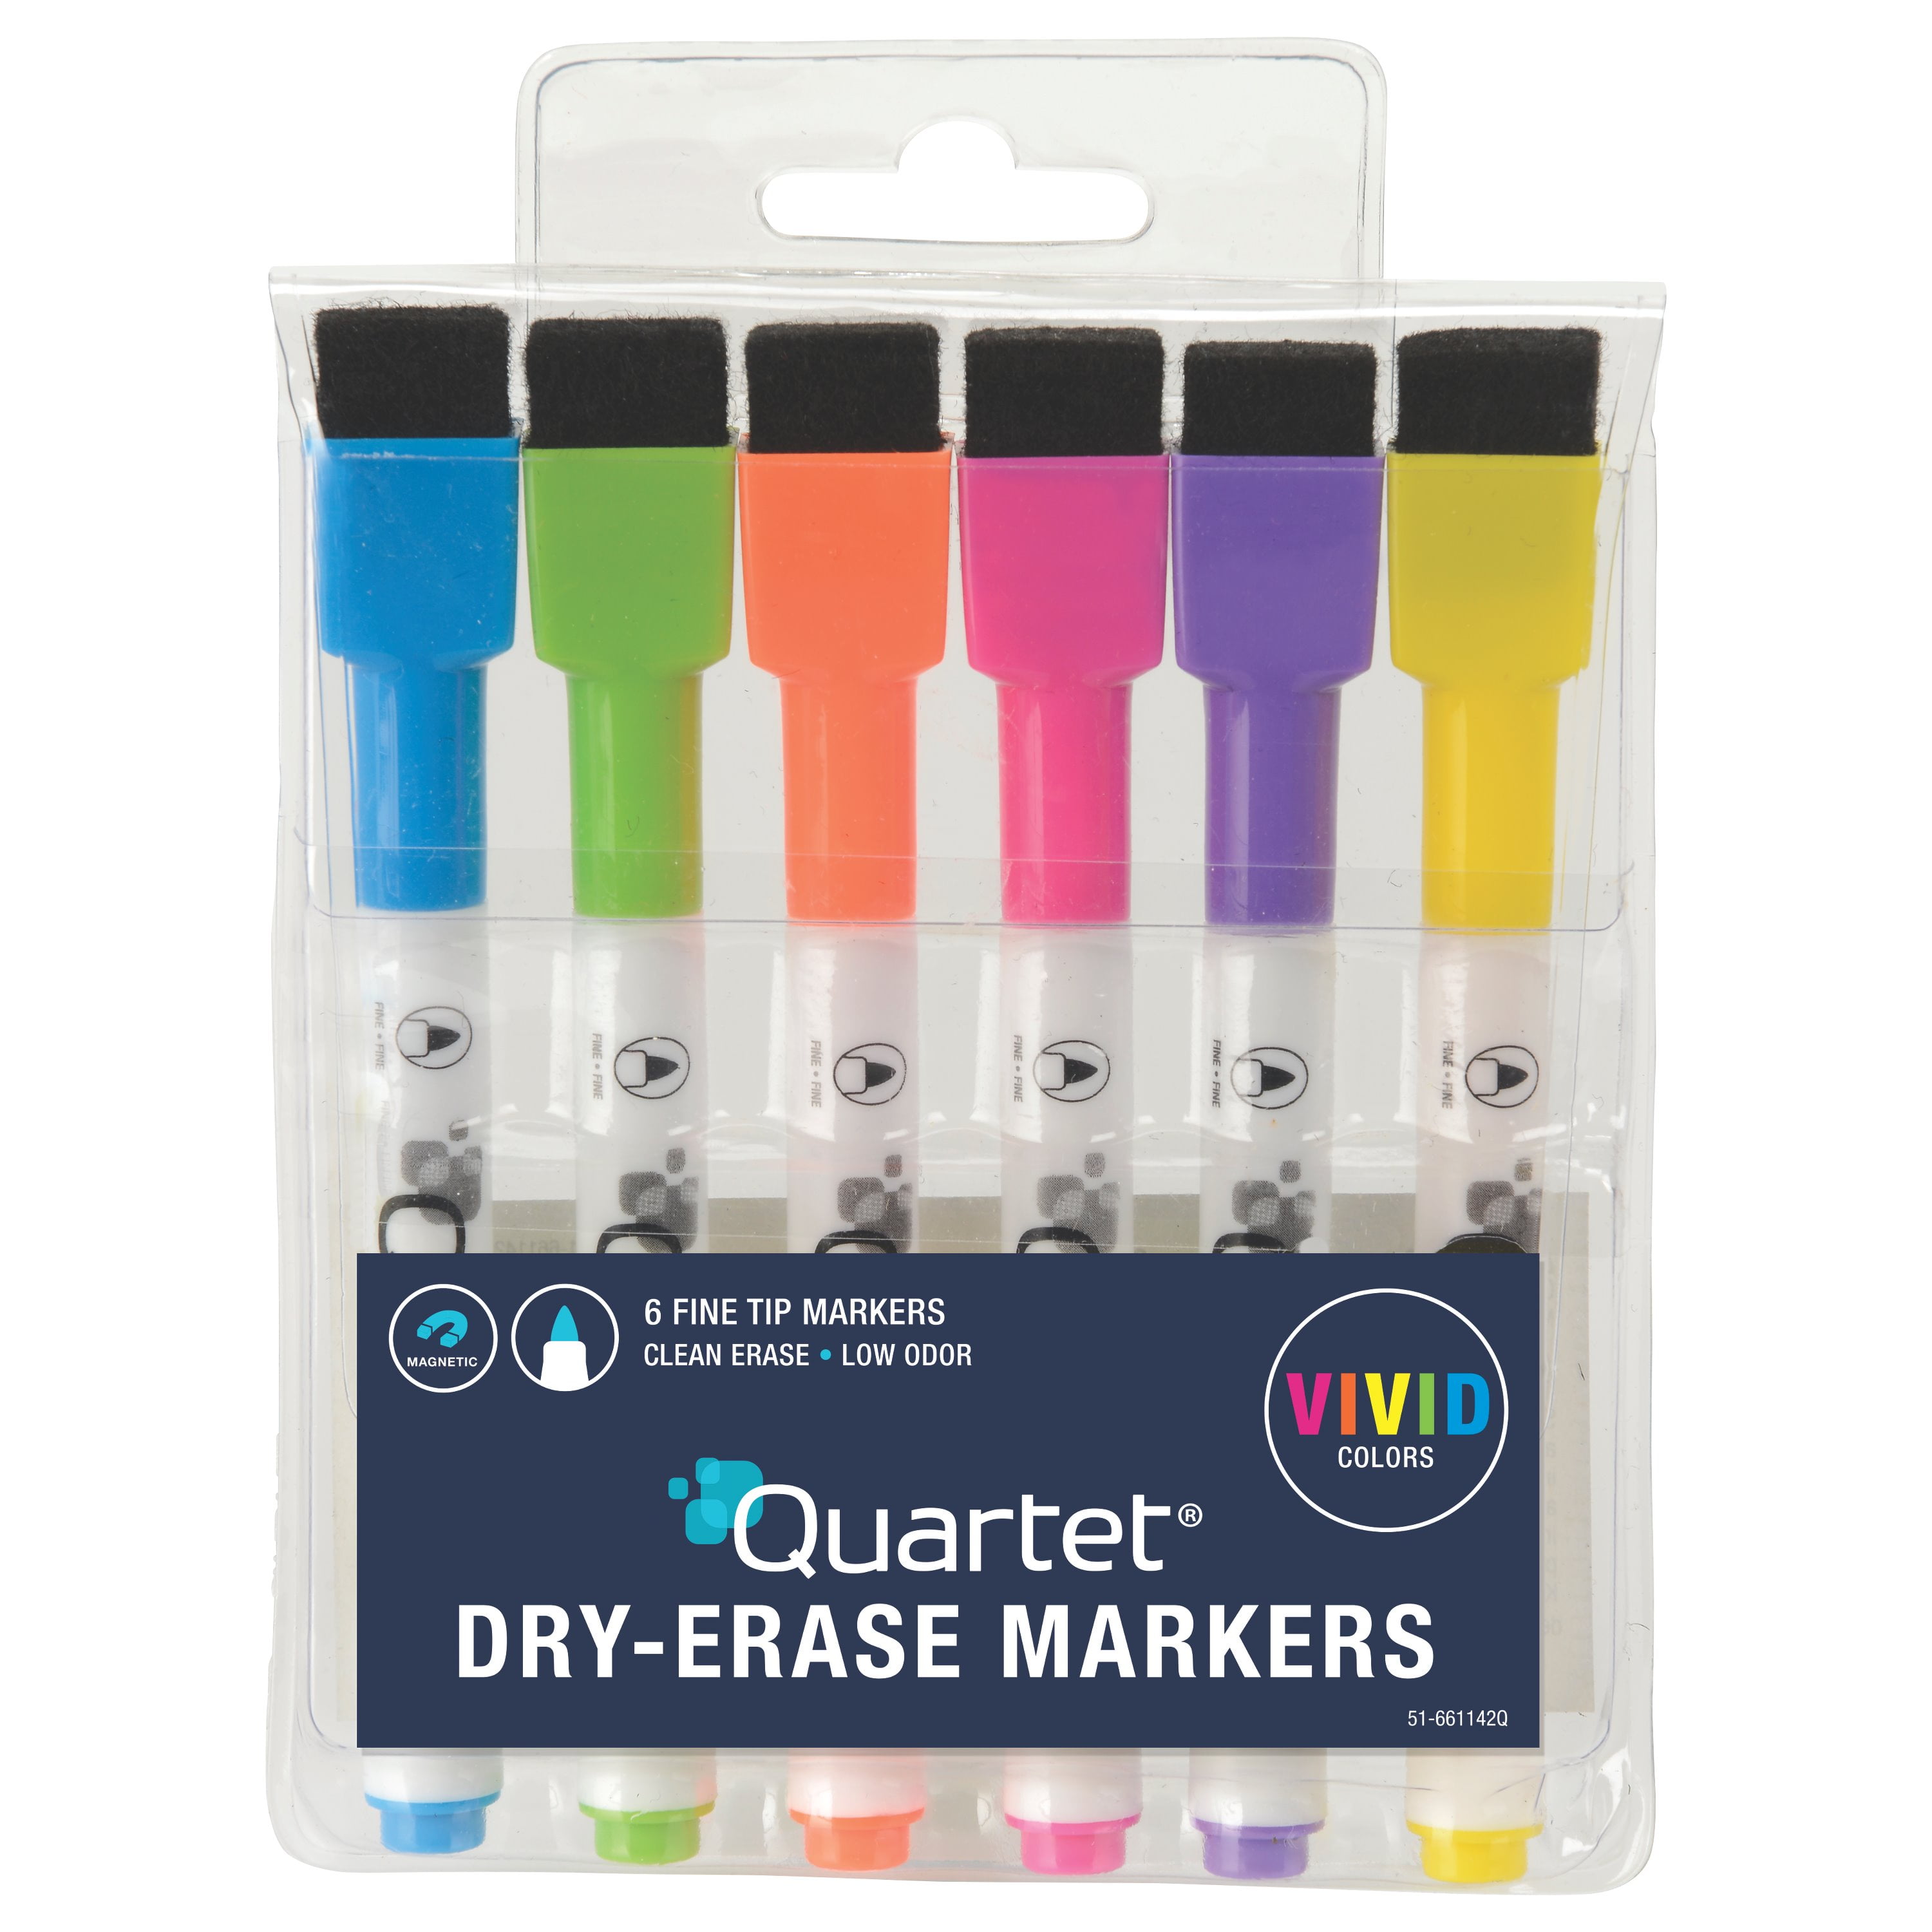
Why Dry Erase Markers?
Dry erase markers are a fantastic tool for young artists because they’re:
- Easy to Use: They glide smoothly on most surfaces, making it easy to create lines and shapes.
- Versatile: They come in a wide array of colors, allowing you to explore different hues and experiment with color combinations.
- Erasable: Mistakes are part of the learning process, and dry erase markers let you easily correct them.
- Durable: They can withstand multiple uses and erasures, making them a cost-effective choice for budding artists.

Let’s Get Started!
1. Basic Shapes:

- Circles: Start by practicing drawing circles. Think of a clock face, a wheel, or a yummy donut. You can use a compass or trace around a round object to help you.
- Squares: Imagine a box or a window. Practice drawing squares with straight lines.
- Triangles: Think of a slice of pizza or a mountain peak. Practice drawing triangles with three straight lines.

2. Lines:
- Straight Lines: Draw lines of different lengths and thicknesses. Experiment with drawing horizontal, vertical, and diagonal lines.
- Curvy Lines: Practice drawing wavy lines, zig-zag lines, and spiral lines.

3. Combining Shapes:
- Animals: Start with simple shapes like circles for the head, squares for the body, and triangles for ears. Add details like eyes, noses, and mouths.
- People: Use circles for heads, rectangles for bodies, and lines for arms and legs.
- Objects: Think of a house, a car, or a tree. Use basic shapes to create the outline, and then add details.

4. Adding Details:
- Coloring: Use your dry erase markers to color in your drawings. Experiment with different colors and patterns.
- Shading: Practice shading by using lighter and darker tones of the same color to create depth and dimension.
- Textures: Use your markers to create different textures, like rough bark on a tree or soft fur on an animal.
5. Practice Makes Perfect:
- Draw Every Day: Even a few minutes of drawing each day can help improve your skills.
- Draw From Life: Look around you and draw what you see. This is a great way to develop your observation skills.
- Don’t Be Afraid to Experiment: Try new things and don’t be afraid to make mistakes. It’s all part of the learning process!
Benefits of Drawing:
Drawing is more than just a fun hobby. It offers numerous benefits for children:
- Creativity and Imagination: Drawing encourages children to think outside the box and express their ideas visually.
- Problem-Solving Skills: Drawing challenges children to find solutions to problems, like how to draw a specific shape or how to create a certain effect.
- Fine Motor Skills: Drawing helps children develop hand-eye coordination, dexterity, and control.
- Cognitive Development: Drawing stimulates the brain, helping children with memory, attention, and visual processing.
- Emotional Expression: Drawing can be a powerful way for children to express their feelings, thoughts, and experiences.
FAQs:
1. How can I help my child get started with drawing?
- Provide a safe and encouraging environment: Let them experiment without judgment.
- Offer simple drawing prompts: Start with basic shapes, then move on to more complex objects.
- Show them examples: Look at books, magazines, and online resources together.
- Make it fun: Use dry erase markers, crayons, or other art supplies that they enjoy.
2. What if my child isn’t interested in drawing?
- Try different approaches: Use different art supplies, experiment with different subjects, or try drawing games.
- Don’t force it: If they’re not interested, that’s okay. There are many other creative activities they can explore.
- Focus on the process, not the product: Encourage them to enjoy the act of drawing itself, rather than striving for perfection.
3. What are some good resources for learning how to draw?
- YouTube tutorials: There are many excellent drawing tutorials available online.
- Drawing books: Libraries and bookstores have a wide selection of drawing books for all ages and skill levels.
- Online drawing communities: Join a drawing group or forum to connect with other artists and share your work.
4. How can I encourage my child to be more creative with their drawings?
- Give them freedom to experiment: Let them try different colors, textures, and styles.
- Encourage them to tell stories with their drawings: Ask them to describe what’s happening in their art.
- Celebrate their creativity: Praise their effort and unique perspective.
5. How can I help my child overcome drawing anxiety?
- Focus on the process, not the product: Emphasize the joy of creating, not the outcome.
- Start with simple exercises: Practice drawing basic shapes and lines to build confidence.
- Create a relaxed and supportive environment: Let them draw at their own pace and without pressure.
Remember, every artist starts somewhere. With practice, patience, and a little bit of fun, your child will discover the joy of drawing and unlock their creative potential.
Thus, we hope this article has provided valuable insights into Downloads dry erase markers small. We thank you for taking the time to read this article. See you in our next article!